// Real-World Training
Inside the Workshop
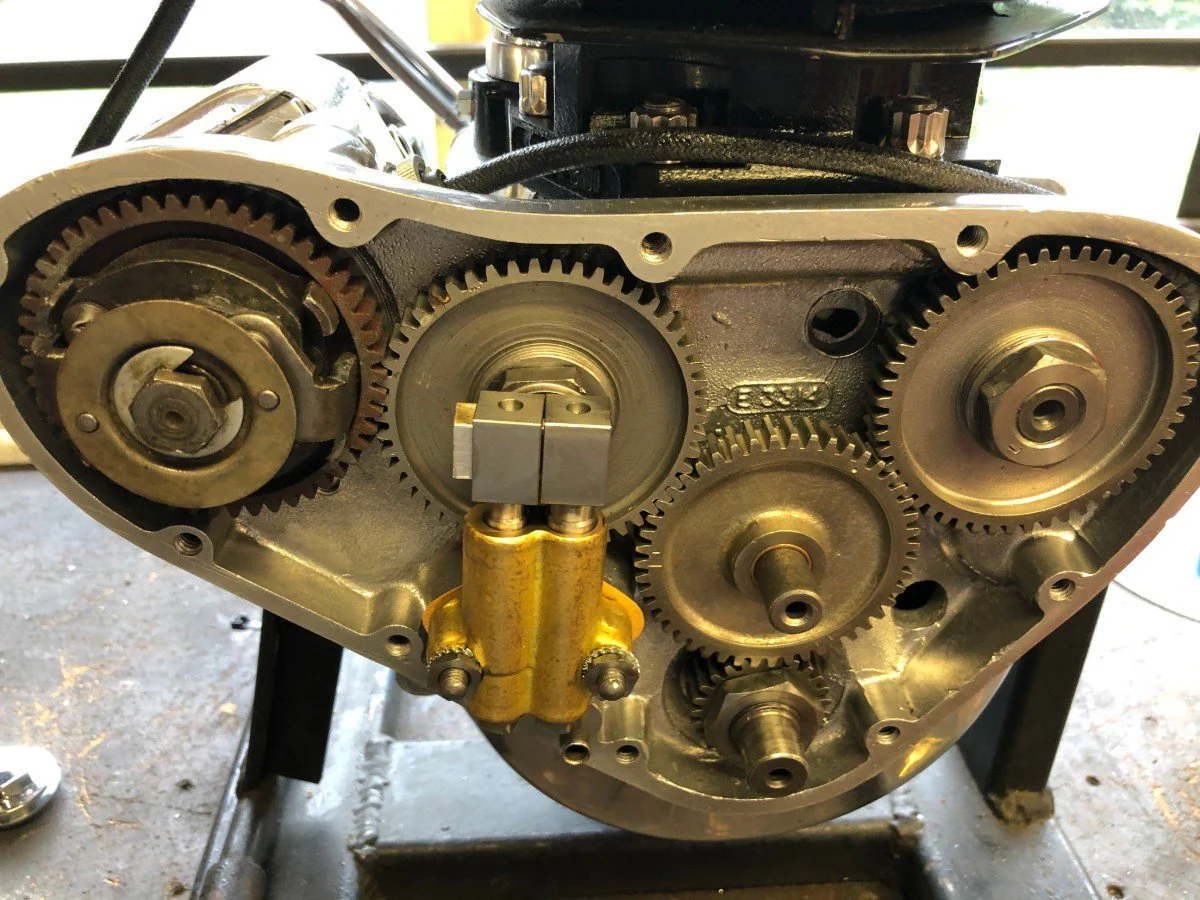
Engine Lab
Engine Teardown & Inspection
Students learn to disassemble, measure, and reassemble engine components under close supervision.
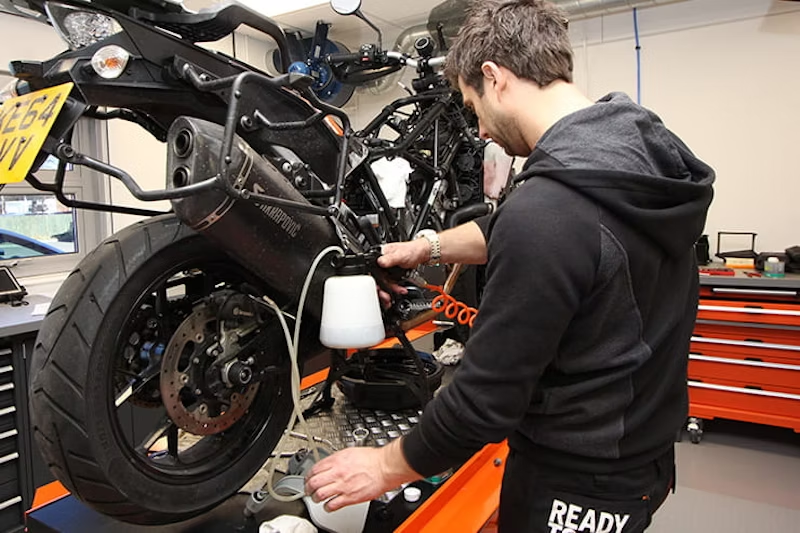
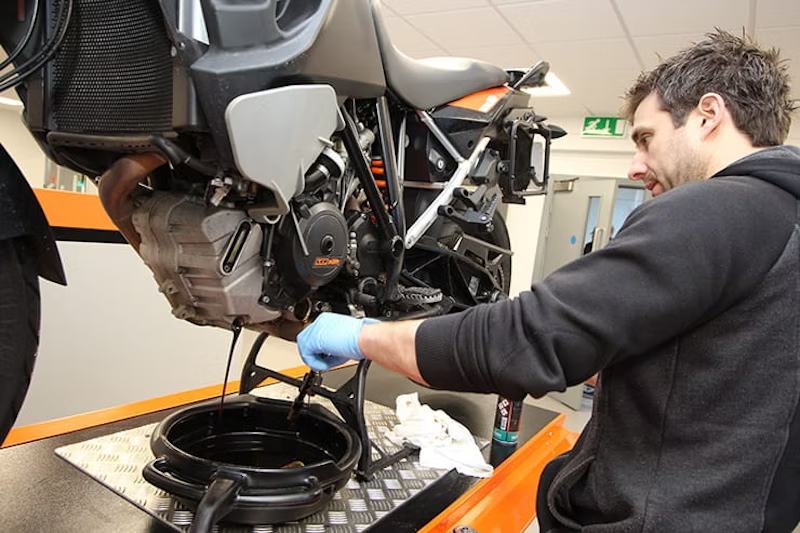
Service Session
Complete Service Procedures
Hands-on practice covering fluid changes, filter service, and general inspection protocols.
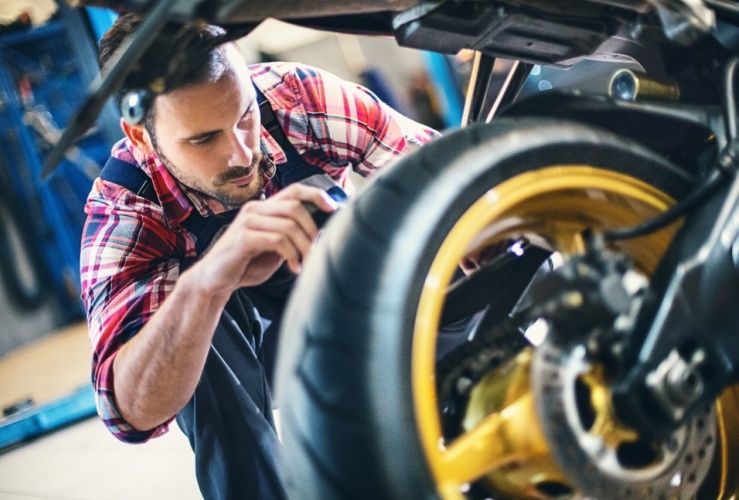
Diagnostics
Diagnostic & Troubleshooting
Learning to read symptoms, use diagnostic tools, and develop a logical repair process.